Table of Contents
Introduction
In today’s article, we will talk about an important website that offers web hosting services and many other services, hostinger is one of the best options if you are a beginner and want to start a blog, we will explain step by step how you can create an account and also build your blog in just some minutes.
What is Hostinger?
Hostinger is a web hosting company that provides various hosting services, including shared hosting, VPS hosting, cloud hosting, and domain registration, They are known for offering affordable hosting plans with features suitable for individuals and small to medium-sized businesses.
What we like about them is that even if you are a beginner or an expert, they have plans and features that are suitable for everyone, if you want to build your website by yourself or with auto builder all the options are good and the price is fantastic comparing to the services they provide.
They have over 2 million website owners, so imagine the number of data they manage, and also the number of services they provide to reach this enormous number.
WordPress or Hostinger website builder
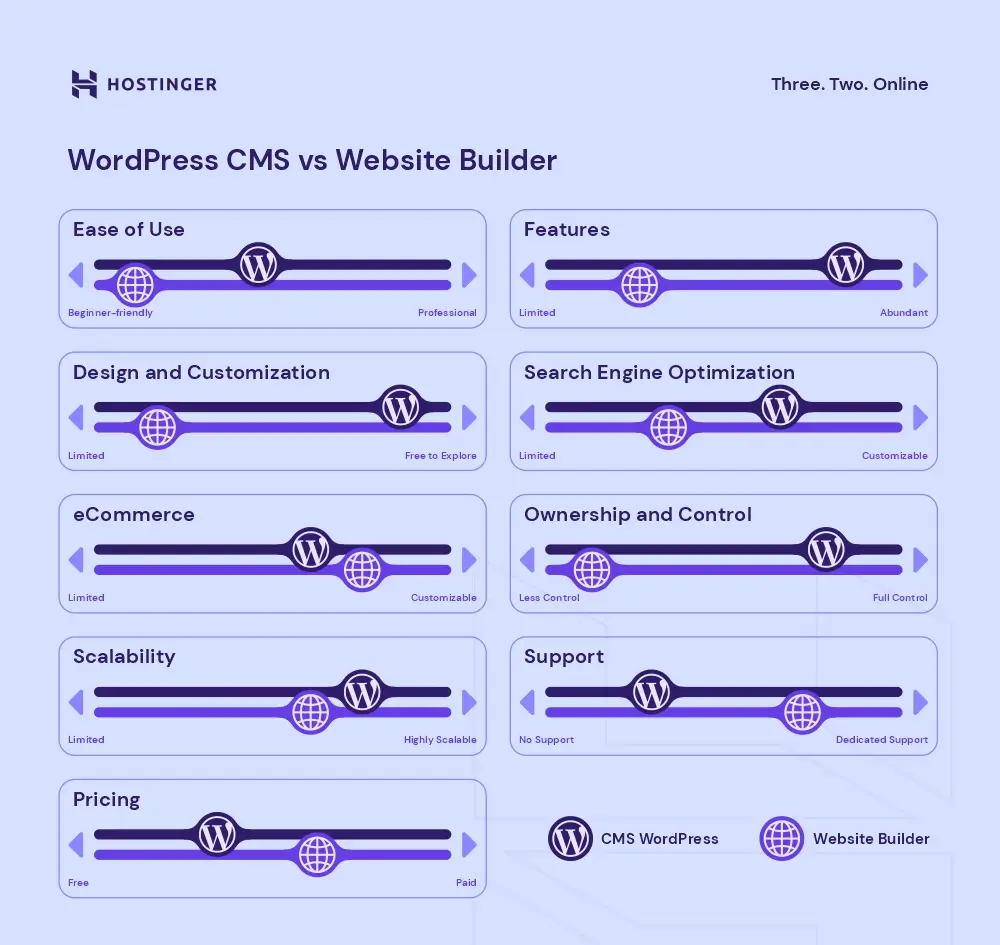
So as we mentioned before Hostinger has two options to create your blog, you can create your blog with WordPress or with Hostinger website builder, if you want our answer simply you have to choose WordPress for many reasons, but one of the most important reasons that you have full control of everything of your blog, you can customize anything, but in the website builder you don’t have the full control and yes it is more easy to build on it but blogging is a long investment project so you have to choose the best option for the long term.
and to help you to understand more look at the below photo, the photo was made by the Hostinger Website.
How to start with them?
If you are reading this article right now that means you have already read How to Start a Blog Article, also means that you have already chosen your blog niche, and the next step is to choose your blog name, if you decide your blog name you have to know if the name is available or not, to check if the name you chose available or not check this Link, my recommendation to chose any name following with .COM, don’t choose anything else because .COM is the best option and also gives your blog more availability and shows it to your audience as a professional blog.
So after you have chosen the blog name and want to start your blog, follow these steps:
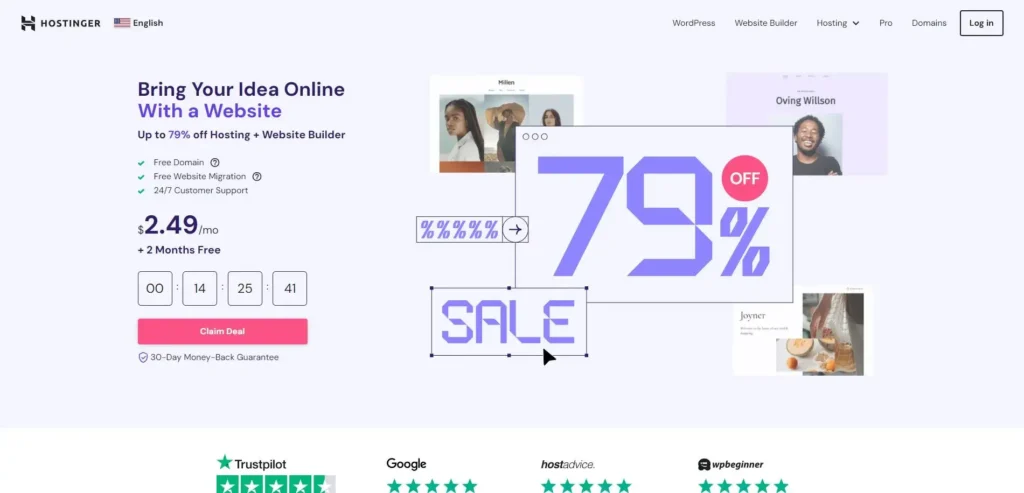
1-Go to this link/ https://bit.ly/4cIZj6Y
you will have 3 plans Premium, Business, and Cloud Startup, choose what is suitable for your blog and your budget, and if you need our recommendation, we recommend you to choose the Business, this plan has amazing features and also an amazing price if you compared it to any web hosting company.
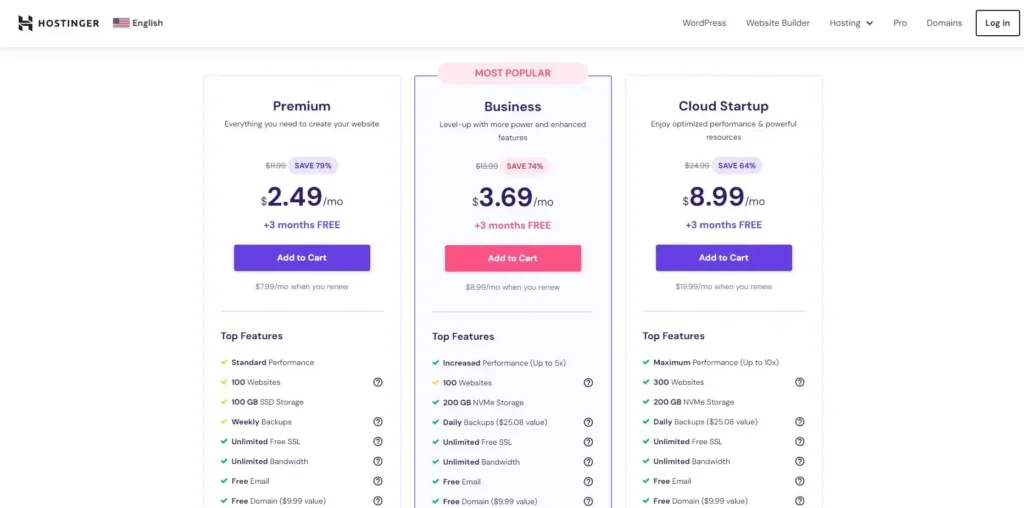
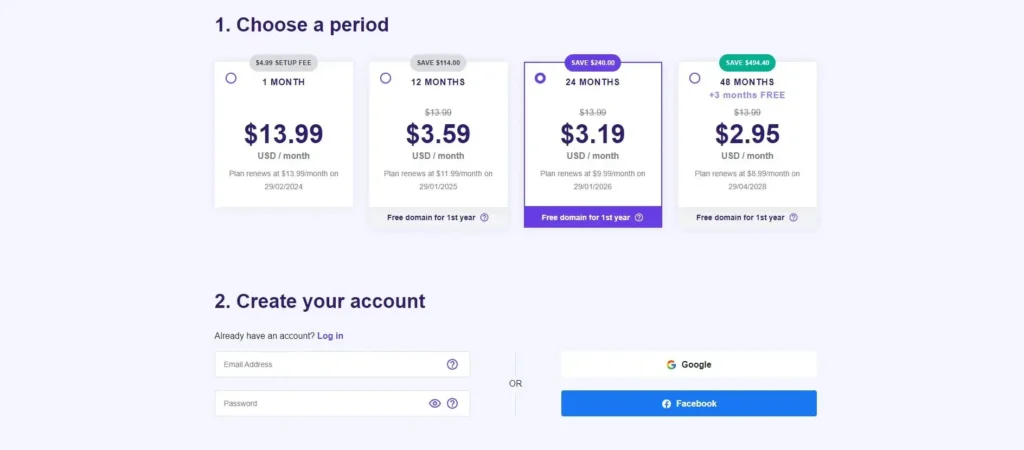
2- After you choose which plan you will buy, add it to your cart, the next step is to choose the period of your plan, you have a Month, 12 MONTHS, 24 MONTHS, and 48 MONTHS, the more months you choose the more discount you will get, also if you choose any plan above 1 month you will get a Free Domain for the first year which can cost you $10 if you buy it by yourself.
After that, you have to create your account, you can create it by writing your email address and a password or you can sign up with Google.
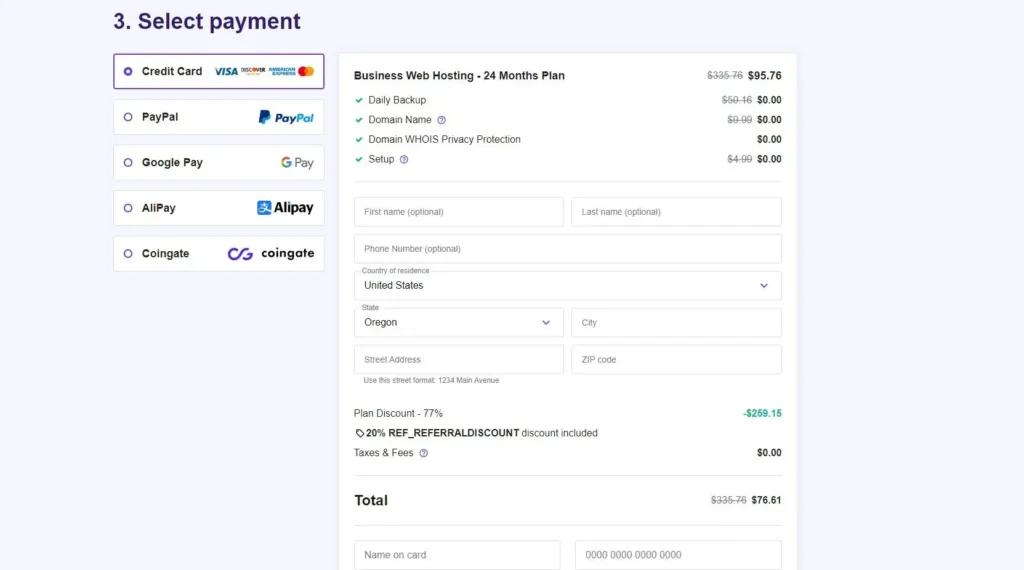
After that, you have to choose your payment, you can choose from one of the following payment methods, Visa or Credit card, Paypal, GooglePlay, Alipay, Coingate, and make sure that you choose the right period before you buy anything.
After you pay, Hostinger will send you a verification mail, verify your mail, and let the fun begin!
3- After you press verify mail on the Hostinger mail, the link will take you to the Hostinger panel and the website will demand you to choose a new password for more security.
After you write your new password, log in to your account, if you choose any period above one month, after you log in you will see an option called Claim your free domain, like the below photo, press on it, write the name you choose, and remember to choose .COM, check the availability of the name if available, claim it, and that is it, congratulations you own a domain now.

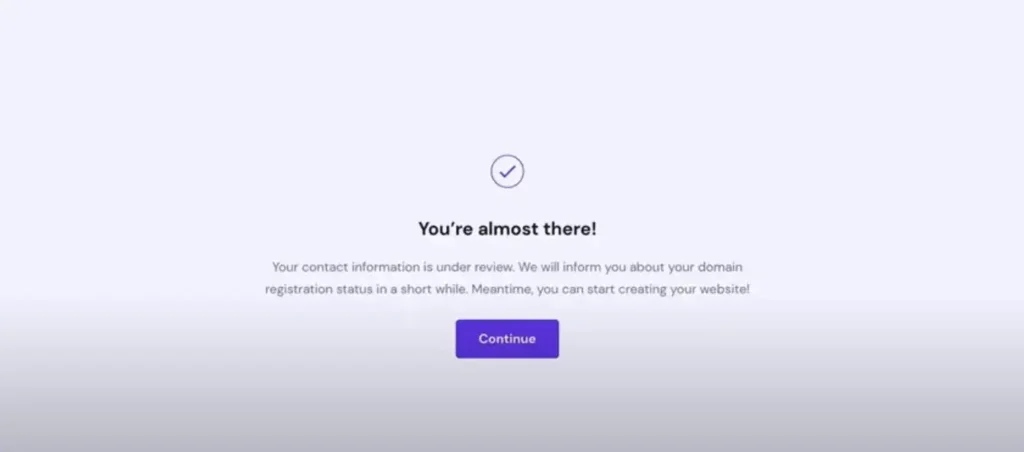
Next, after you claim your domain, you have to finish the domain registration, it is personal information like the country you are resident right now and the contact details for you, then press on finish registration, then there will be a message will appear to you that your information is under review like the below photo.
Hostinger will send you an email address to verify your domain ownership, you have to verify this information to be able to build your blog, and they will send you an email like the below one, make sure that the domain name matches the name you choose before you verify anything.
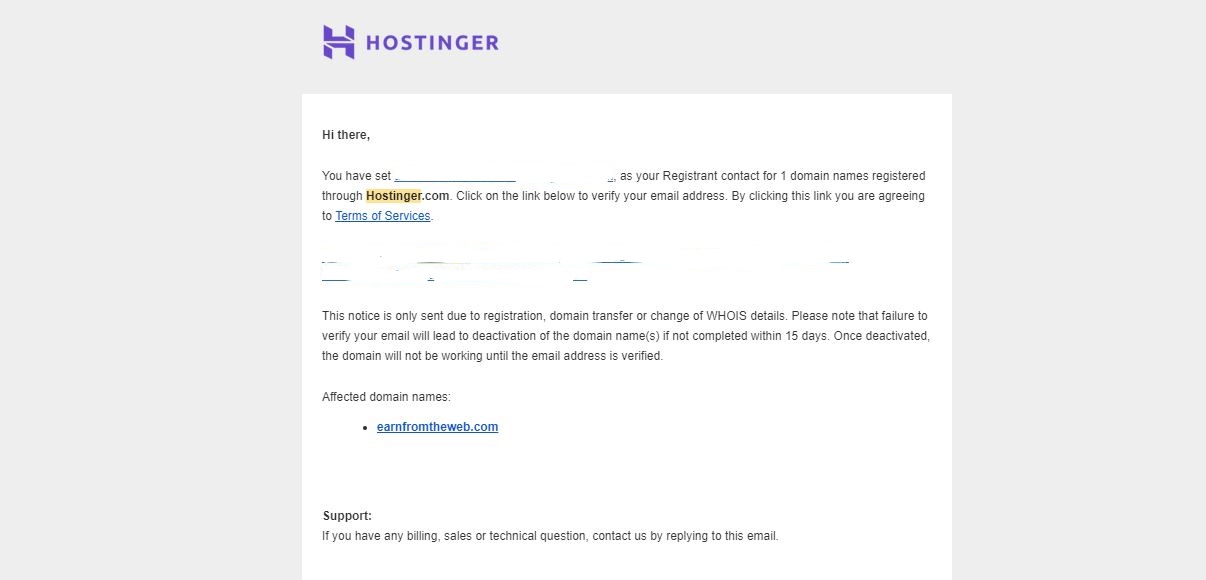
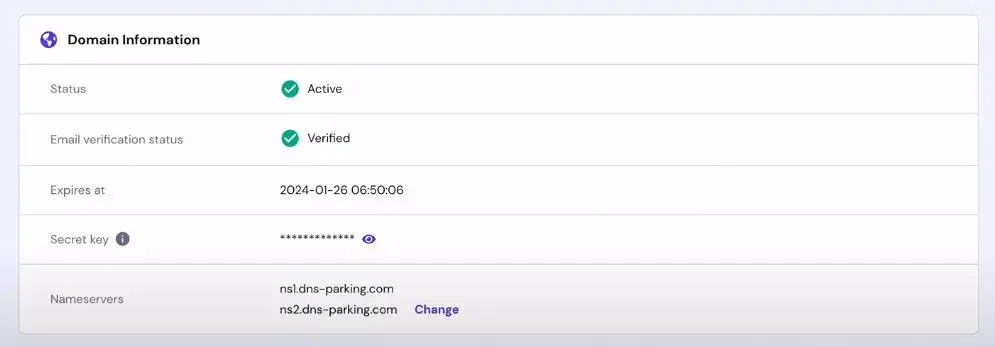
When you click on verify your domain, the website will redirect you to the domain information panel, make sure that the domain is active, and also the email verification is active to be able to continue.
4- The last step is to build your blog, in this step, you will have to choose between WordPress or Website Builder, if you don’t know how to choose between them, read the last heading to choose, as we said before we recommend anyone want to start a blog to choose WordPress.
So to build your blog all you have to do is, log in to your Hostinger account, from the panel choose Home you will see Setup then depends on the plan you choose but let us say you choose the premium plan, you will have premium web hosting and setup, press on setup, then the website will ask you some normal questions to build your blog, we will explain every question until you build you blog.
First question: the first question will be if you are building a new blog or if you have already a blog you can Migrate it, which means transferring the existing blog or website to Hostinger web hosting.

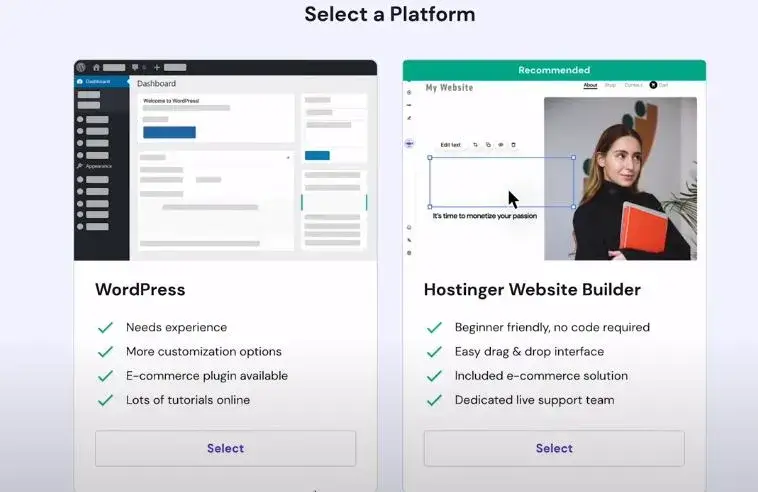
Second question: the second question is to choose the platform that you want your blog on it, you will have two options WordPress or Hostinger web builder, and of course, choose WordPress.
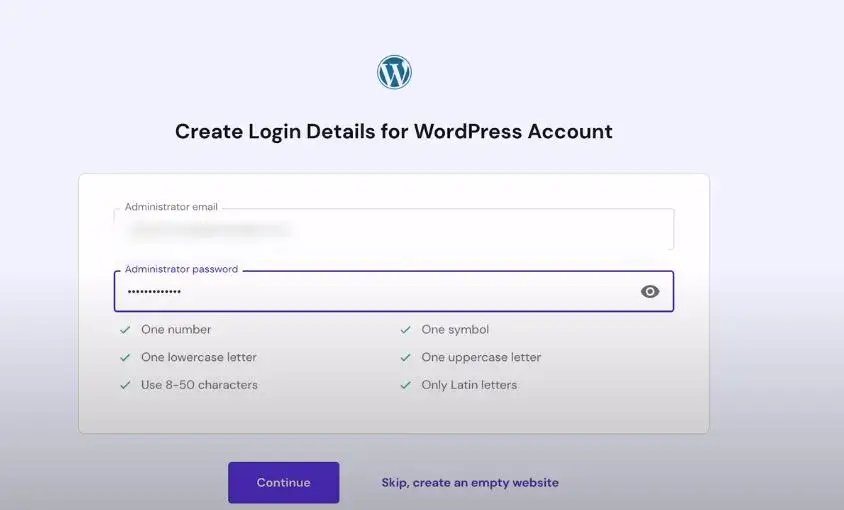
Then you have to create a WordPress account to be able to log in to your WordPress dashboard to manage your blog.
Skip the next two steps you can do it later from your WordPress Dashboard.
After you skip these steps, in this step you will name your website, you will have an option called Choose a domain, click on it, then choose the domain you already own.
The last step is to finish the settings, it is like a check-up point for all the options you already chose, it will contain your service location and you can change it, your domain name, you installed CMS which will be WordPress, and also your domain email, make sure that all the information is right, then press on finish setup.
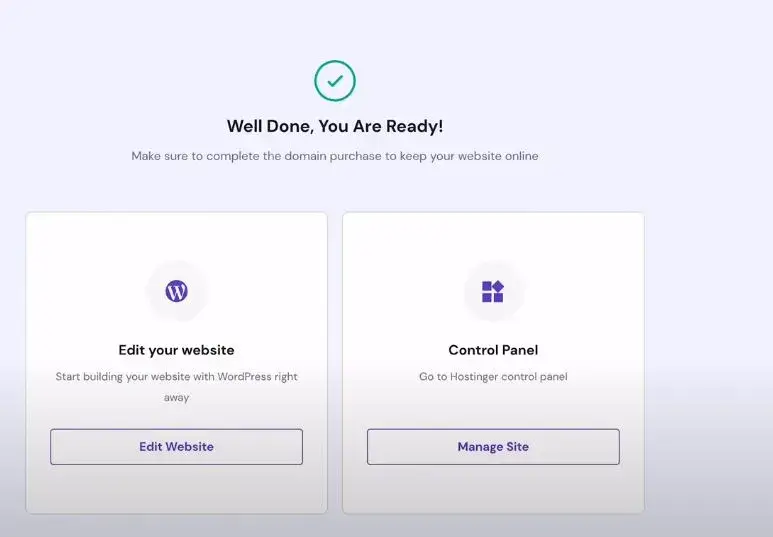
Congratulations your blog now is live!
Free things you will have it
In this heading we will talk about free things that you will have if you choose Hostinger, actually, every plan has amazing features that come with it, but in this heading, we will talk about the top free things if you choose any of the 3 plans:
1- Unlimited Free SSL: if you choose any of the 3 plans you will have a free SSL certificate that comes with all your purchased domains through Hostinger, and actually that’s great because according to SSLS.com the basic SSL certificate will cost you $36/year, so you save this amount of money because you choose hostinger.
2- Free Emails: if you choose any of the 3 plans you will have up to 100 free emails provided by TITAN mail, and you can create emails with your domain like that ( contact@yourDomain.com ) which will show to the audience and the companies that your blog is a professional blog and also a trusted one.
To create one of these free emails, log in to your Hostinger account, then in the panel there will be an email option choose it, create any email you want but our recommendation is to create an email like this ( contact@yourDomain.com ) after you create, make sure that the email is active like the below photo, and also try to send and receive emails to make sure it is active too.

3- 24/7 Support: one of the best benefits that can encourage you to choose Hostinger is that if anything happens to your hosting plan or to your blog, the support team is very friendly and also has a lot of experience in handling any issue, from our experience with them, they are quick in responding and also solving the problems.
4- servers locations: they have plenty of server locations you can choose from them, and also if you choose a particular server and want to move to another server, you can do this and the transfer is FREE, they have server locations in the following countries: USA, United Kingdom, France, India, Singapore, Brazil, Lithuania, and the Netherlands.
Some tips
Choosing the plan: when you decide you will choose Hostinger, you will be confused about choosing what plan, as we said choose the Business plan, it will be suitable for you if you are a beginner or expert, also our recommendation is not to choose the premium plan for performance reasons.
Server location: in the steps when you are creating your blog there will be an option to choose your server location, everyone will say to choose the server that is near your audience countries, but from our experience choose the server that is near to you, when we chose server near to our audience but far from us the performance was very bad when we transfer it near to us the blog becomes faster and the performance becomes great.
Emails: if you are willing to do some affiliate business or accept ads from companies try to make two emails, one for anyone who wants to contact you, and the second one for anyone who wants to advertise or make a proposal for you.
Conclusion
Hostinger offers various hosting plans to cater to different needs. Whether you’re just starting or expecting high traffic, there’s a plan for you. Visit the Hostinger website and select the hosting plan that aligns with your blog’s requirements and budget.
Also when you choose any of the plans you will take a lot of free things and tools that will cost you money but Hostinger will give it to you for free and all of that because you choose them.
Now you have to read the WordPress article, to be able to manage your blog perfectly.